Vue+Springboot实现完整项目记录

Vue部分

创建一个新的Vue2项目(网上很多教程,不赘述了)

项目结构
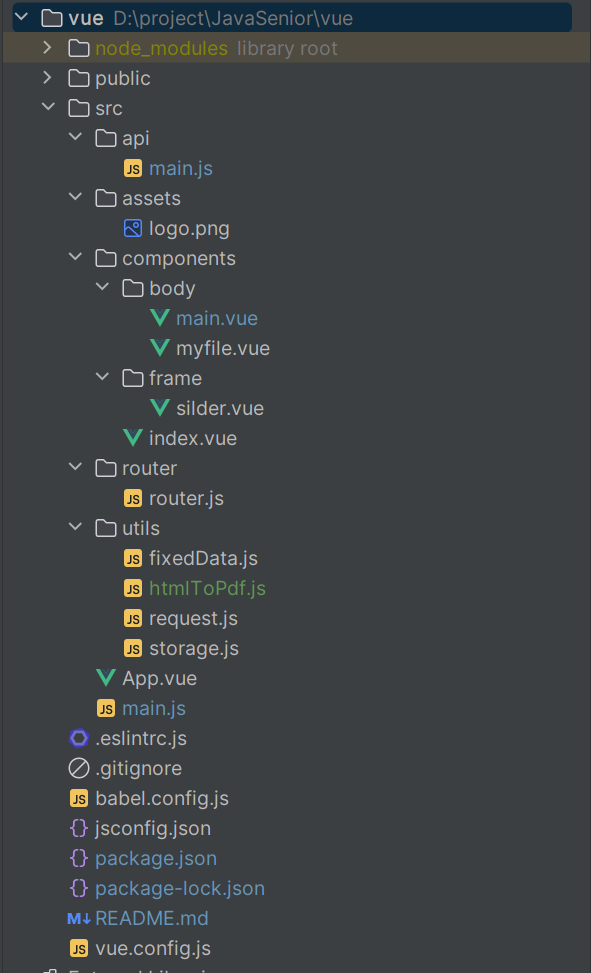
image-20230705005255190

下载依赖包

1
2
3
4
5
6
7
8
9
// 下载路由
npm install vue-router@3

// 使用Element UI
npm i element-ui -S

// 使用axios做前后端对接
npm install axios

配置各种配置

配置项目目录的main.js

1
2
3
4
5
6
7
8
9
10
11
12
13
14
15
16
17
18
import Vue from 'vue'
import App from './App.vue'
import ElementUI from 'element-ui'
import router from '@/router/router'
import 'element-ui/lib/theme-chalk/index.css'
import htmlToPdf from './utils/htmlToPdf.js';
Vue.use(htmlToPdf);


Vue.use(ElementUI)

Vue.config.productionTip = false

new Vue({
router,
render: h => h(App),
}).$mount('#app')

vue.config.js中配置跨域请求

1
2
3
4
5
6
7
8
9
10
11
12
13
14
15
16
const { defineConfig } = require('@vue/cli-service')
module.exports = defineConfig({
transpileDependencies: true,
lintOnSave: false,
devServer: {
proxy: {
'/inter': {
// 匹配所有以'/api' 开头的请求路径
target: 'http://localhost:8081', // 代理目标的基础路径
changeOrigin: true,
pathRewrite: { '^/inter': '' }
}
}
}
})

封装axios,配置request.js

1
2
3
4
5
6
7
8
9
10
11
12
13
14
15
16
17
18
19
20
21
22
23
24
25
26
27
28
29
30
31
32
33
34
35
36
37
38
39
40
41
42
43
44
45
46
47
48
49
50
51
52
53
54
55
56
57
58
59
60
61
62
63
64
65
66
67
68
69
70
71
72
73
74
75
76
77
78
79
80
81
82
83
84
85
86
87
88
89
90
91
92
93
94
95
96
97
98
99
100
101
102
103
104
105
106
107
108
109
110
111
112
113
114
115
116
import axios from 'axios'
// import { Message } from 'element-ui'
import storage from './storage'
import qs from 'qs'
const request = axios.create({
// API 请求的默认前缀
baseURL: '/inter/api',
timeout: 30000 // 请求超时时间
})

request.interceptors.request.use(
config => {
const token = storage.get('token')
// 如果 token 存在
// 让每个请求携带自定义 token 请根据实际情况自行修改
if (token) {
config.headers['Authorization'] = token
}
return config
},
error => {
// do something with request error
console.log(error) // for debug
return Promise.reject(error)
}
)

request.interceptors.response.use(
response => {
return response.data //可以不做任何处理,在这里了直接返回请求会的结果
// const res = response.data || {}
// console.log(res)
// if (res.code != 200) {
// // 401: Unauthorized
// if (res.code === 401) {
// notification.error({
// key: 'Unauthorized',
// message: '错误',
// description: '身份验证失败,请重新登录!'
// })
// // 从 localstorage 获取 token
// const token = storage.get('token')
// if (token) {
// storage.removeAll()
// window.location.href = '/login'
// Message.error('登陆信息过期')
// // 原文 store.dispatch('Logout').then(() => {
// // window.location.reload()
// // })
// }
// }

// return Promise.reject(response.data)
// } else {
// return res.data
// }
},
error => {
return Promise.reject(error)
}
)

export default {
/**
*
* @param {String} url
* @param {Object} data
* @param {String} isForm
* @param {Object} config
*
* 这里是通用请求
* 如果需要特殊的配置在config中配置
*
*/
post(para, config = {}) {
if (para.isForm === 'FORM') {
const formHeaders = {
// 'X-Requested-With': 'XMLHttpRequest',
'Content-Type': 'application/x-www-form-urlencoded;charset=utf-8'
}
const transformRequest = data =>
qs.stringify(data, {
encode: false,
allowDots: true,
arrayFormat: 'indices'
})
config.transformRequest = config.transformRequest
? [transformRequest, ...config.transformRequest]
: [transformRequest]

config = { headers: formHeaders, ...config }
}
// 文件上传
if (para.isForm === 'FILE') {
const formHeaders = {
'Content-Type': 'multipart/form-data'
}
config = { headers: formHeaders, ...config }
const forms = new FormData()
forms.append('file', para.data)
para.data = forms
}
return request.post(para.url, para.data, config)
//return request.post(url, data, config).then(res => res).catch(e => e),这里的处理和上边的不同是因为上面没做处理的结果return出来的promise对象,做了处理就return出来的是一个经过处理的对象,
},
/**
*
* @param {String} url
* @param {Object} params
*/
get(data) {
return request.get(data.url, { params: data.params }, data.config)
//retrun request.get(url, { params: params }, config)//同上
}
}
//参考自:https://juejin.cn/post/6994728394378182669

封装操作localstorage本地存储的方法

1
2
3
4
5
6
7
8
9
10
11
12
13
14
15
16
17
18
19
20
21
22
23
24
25
26
27
28
29
30
31
32
33
34
35
36
37
38
39
40
41
42
43
44
45
46
47
48
49
50
51
52
53
54
55
// 封装操作localstorage本地存储的方法  模块化

var storage = {
set(key, value) {
localStorage.setItem(key, JSON.stringify(value))
// localStorage.key = value;
// localStorage[key] = value;
},
get(key) {
return JSON.parse(localStorage.getItem(key))
},
getForIndex(index) {
return localStorage.key(index)
},
getKeys() {
let items = this.getAll()
let keys = []
for (let index = 0; index < items.length; index++) {
keys.push(items[index].key)
}
return keys
},
getLength() {
return localStorage.length
},
getSupport() {
return typeof Storage !== 'undefined' ? true : false
},
remove(key) {
localStorage.removeItem(key)
},
removeAll() {
localStorage.clear()
},
getAll() {
let len = localStorage.length // 获取长度
let arr = new Array() // 定义数据集
for (var i = 0; i < len; i++) {
// 获取key 索引从0开始
var getKey = localStorage.key(i)
// 获取key对应的值
var getVal = localStorage.getItem(getKey)
// 放进数组
arr[i] = {
key: getKey,
val: getVal
}
}
return arr
}
}

export default storage
//参考来自:https://blog.csdn.net/GeniusXYT/article/details/104402757

配置router路由

1
2
3
4
5
6
7
8
9
10
11
12
13
14
15
16
17
18
19
20
21
22
23
24
25
26
27
28
29
30
31
32
33
34
35
36
37
38
39
40
41
42
43
44
45
46
47
48
49
50
51
52
53
54
55
56
57
58
59
60
61
62
import Vue from "vue";
import VueRouter from "vue-router";
import Index from '@/components/index.vue'
import Main from '@/components/body/main.vue'
import MyFile from '@/components/body/myfile.vue'

Vue.use(VueRouter)
let originPush = VueRouter.prototype.push
let originreplace = VueRouter.prototype.push
VueRouter.prototype.push = function (location, resolve, reject) {
if (resolve && reject) {
originPush.call(this, location, resolve, reject)
} else {
originPush.call(
this,
location,
() => {},
() => {}
)
}
}
VueRouter.prototype.replace = function (location, resolve, reject) {
if (resolve && reject) {
originPush.call(this, location, resolve, reject)
} else {
originreplace.call(
this,
location,
() => {},
() => {}
)
}
}

const routes = [
{
path: '/',
redirect: '/main',
name: 'index',
component: Index,
children: [
{
path: 'main',
component: Main,
},
{
path: 'myfile',
component: MyFile,
}
]
},
{
path: '*',
redirect: '/'
}
]


const router = new VueRouter({
routes
})
export default router

配置.eslintrc.js

为了消除WebStorm上的Vue警告

1
2
3
4
5
6
7
8
9
10
11
12
13
14
15
16
17
18
19
20
21
22
23
24
25
26
27
28
29
30
31
32
33
34
35
36
//  
module.exports = {
root: true,
env: {
node: true
},
'extends': [
'plugin:vue/essential',
'eslint:recommended'
],
parserOptions: {
parser: '@babel/eslint-parser'
},
rules: {
'no-console': process.env.NODE_ENV === 'production' ? 'warn' : 'off',
'no-debugger': process.env.NODE_ENV === 'production' ? 'warn' : 'off',
},
overrides: [
//这里是添加的代码
{
files: ['src/**'], // 匹配src中的所有vue文件
rules: {
'vue/multi-word-component-names':"off",
} //给上面匹配的文件指定规则
},
{
files: [
'**/__tests__/*.{j,t}s?(x)',
'**/tests/unit/**/*.spec.{j,t}s?(x)'
],
env: {
jest: true
}
}
]
}

编写界面Vue代码

界面代码使用element-ui框架,很简单的界面,这里就不详细描述界面的代码了

具体代码参考 https://github.com/wuwei1636/JavaSenior_Vue

Springboot部分

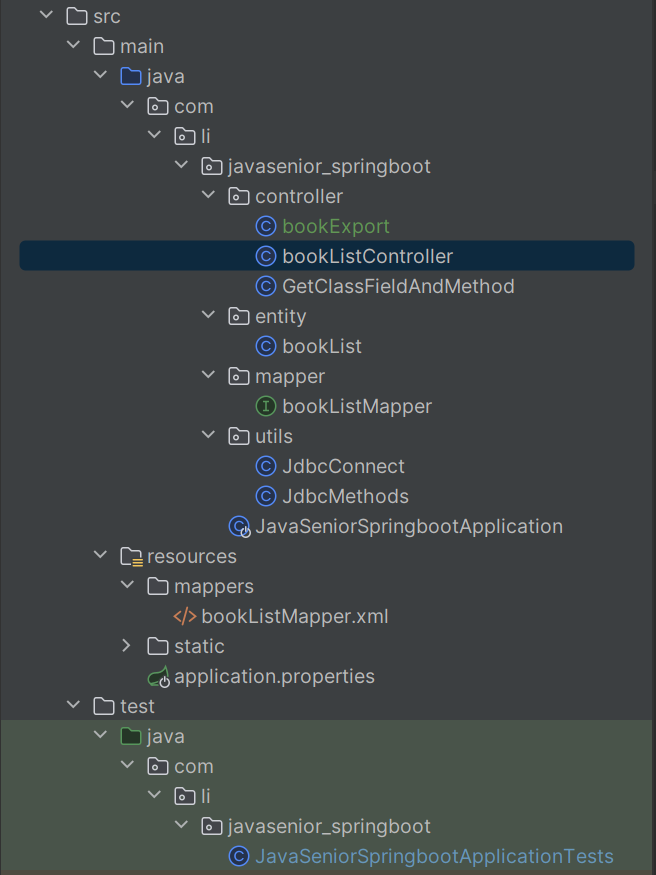
项目结构

由于项目比较简单,就没有编写Service

image-20230705010011087

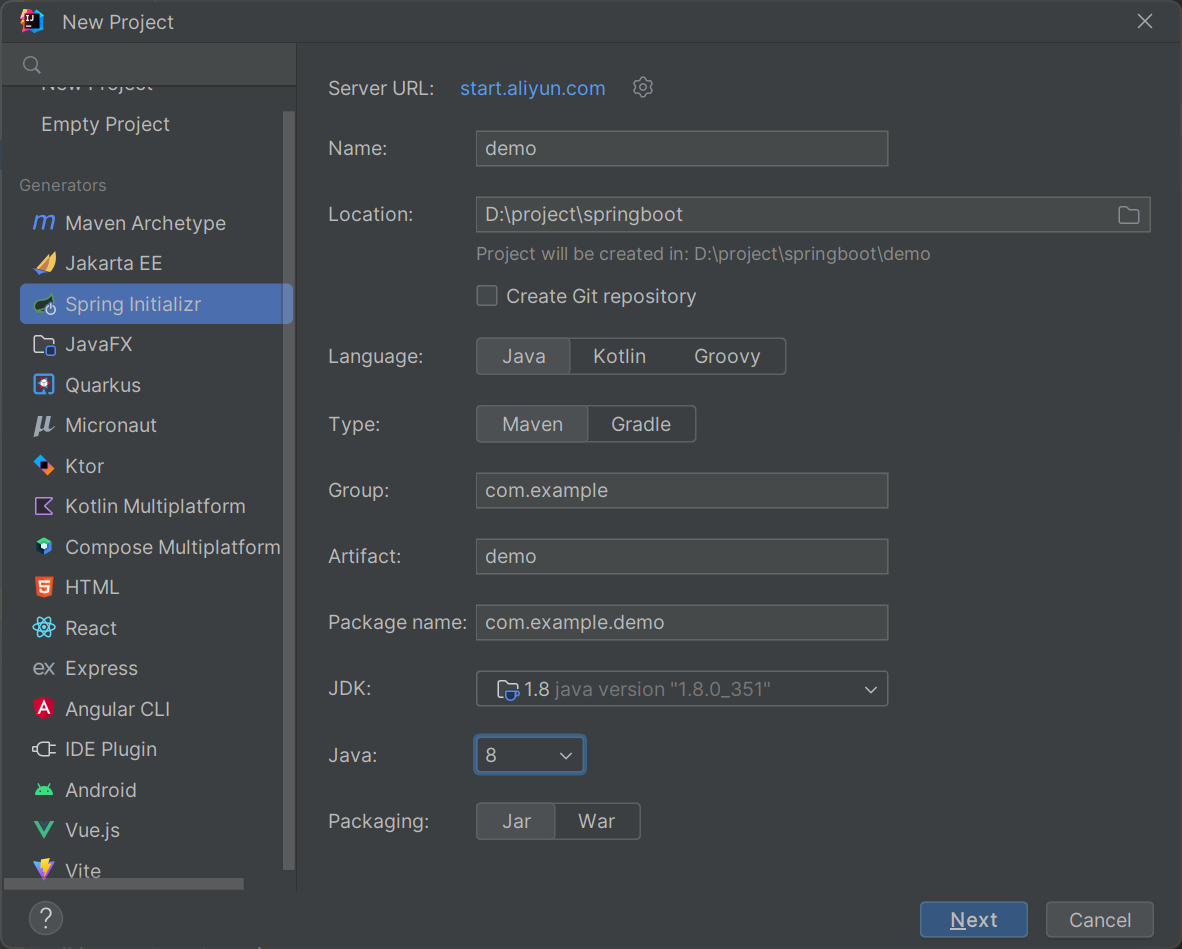
创建一个新的springboot项目

image-20230705005704710

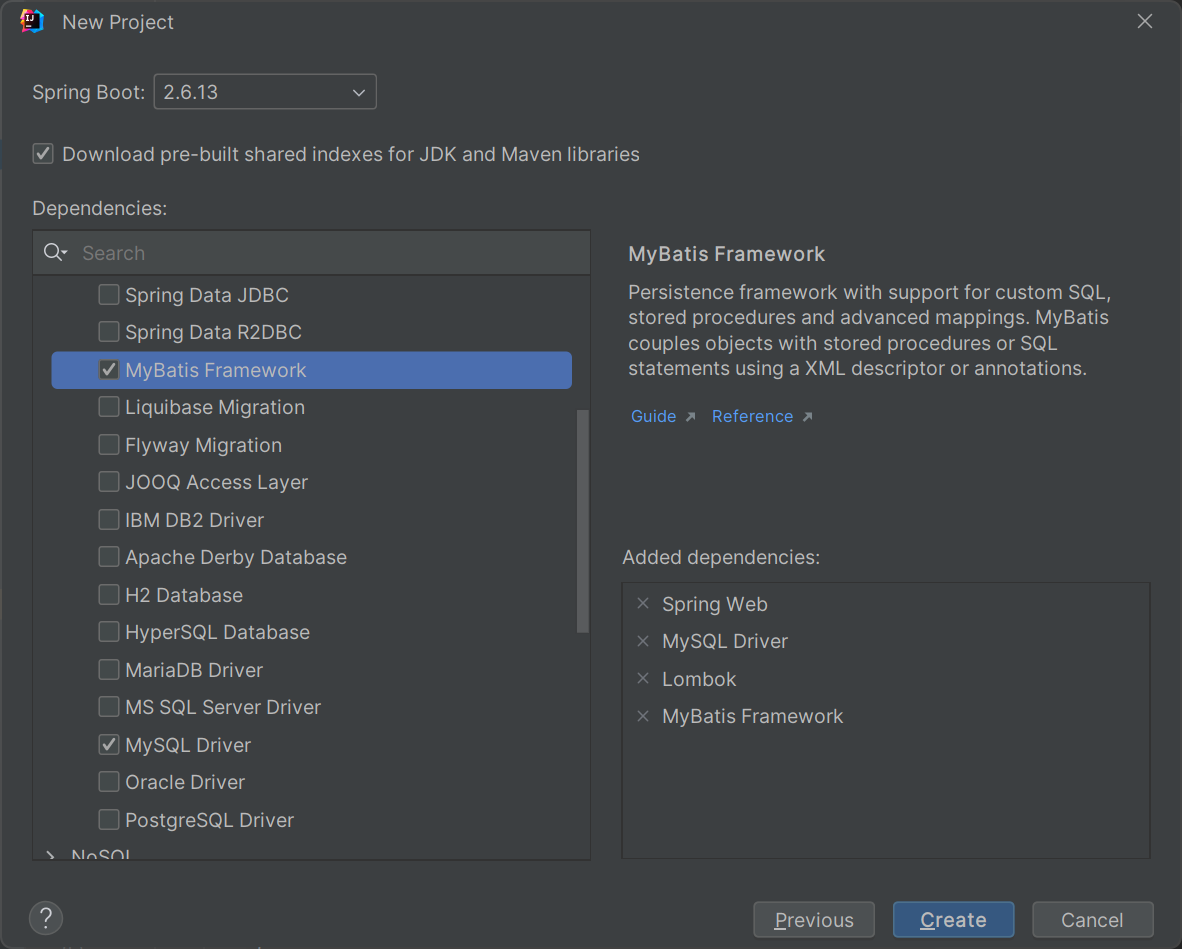
image-20230705005833685

根据自己的需求选择需要下载的maven依赖,就算创建的时候忘记了某一个依赖,也可以在pom.xml中添加

代码部分

具体代码请参考 https://github.com/wuwei1636/JavaSenior_Springboot

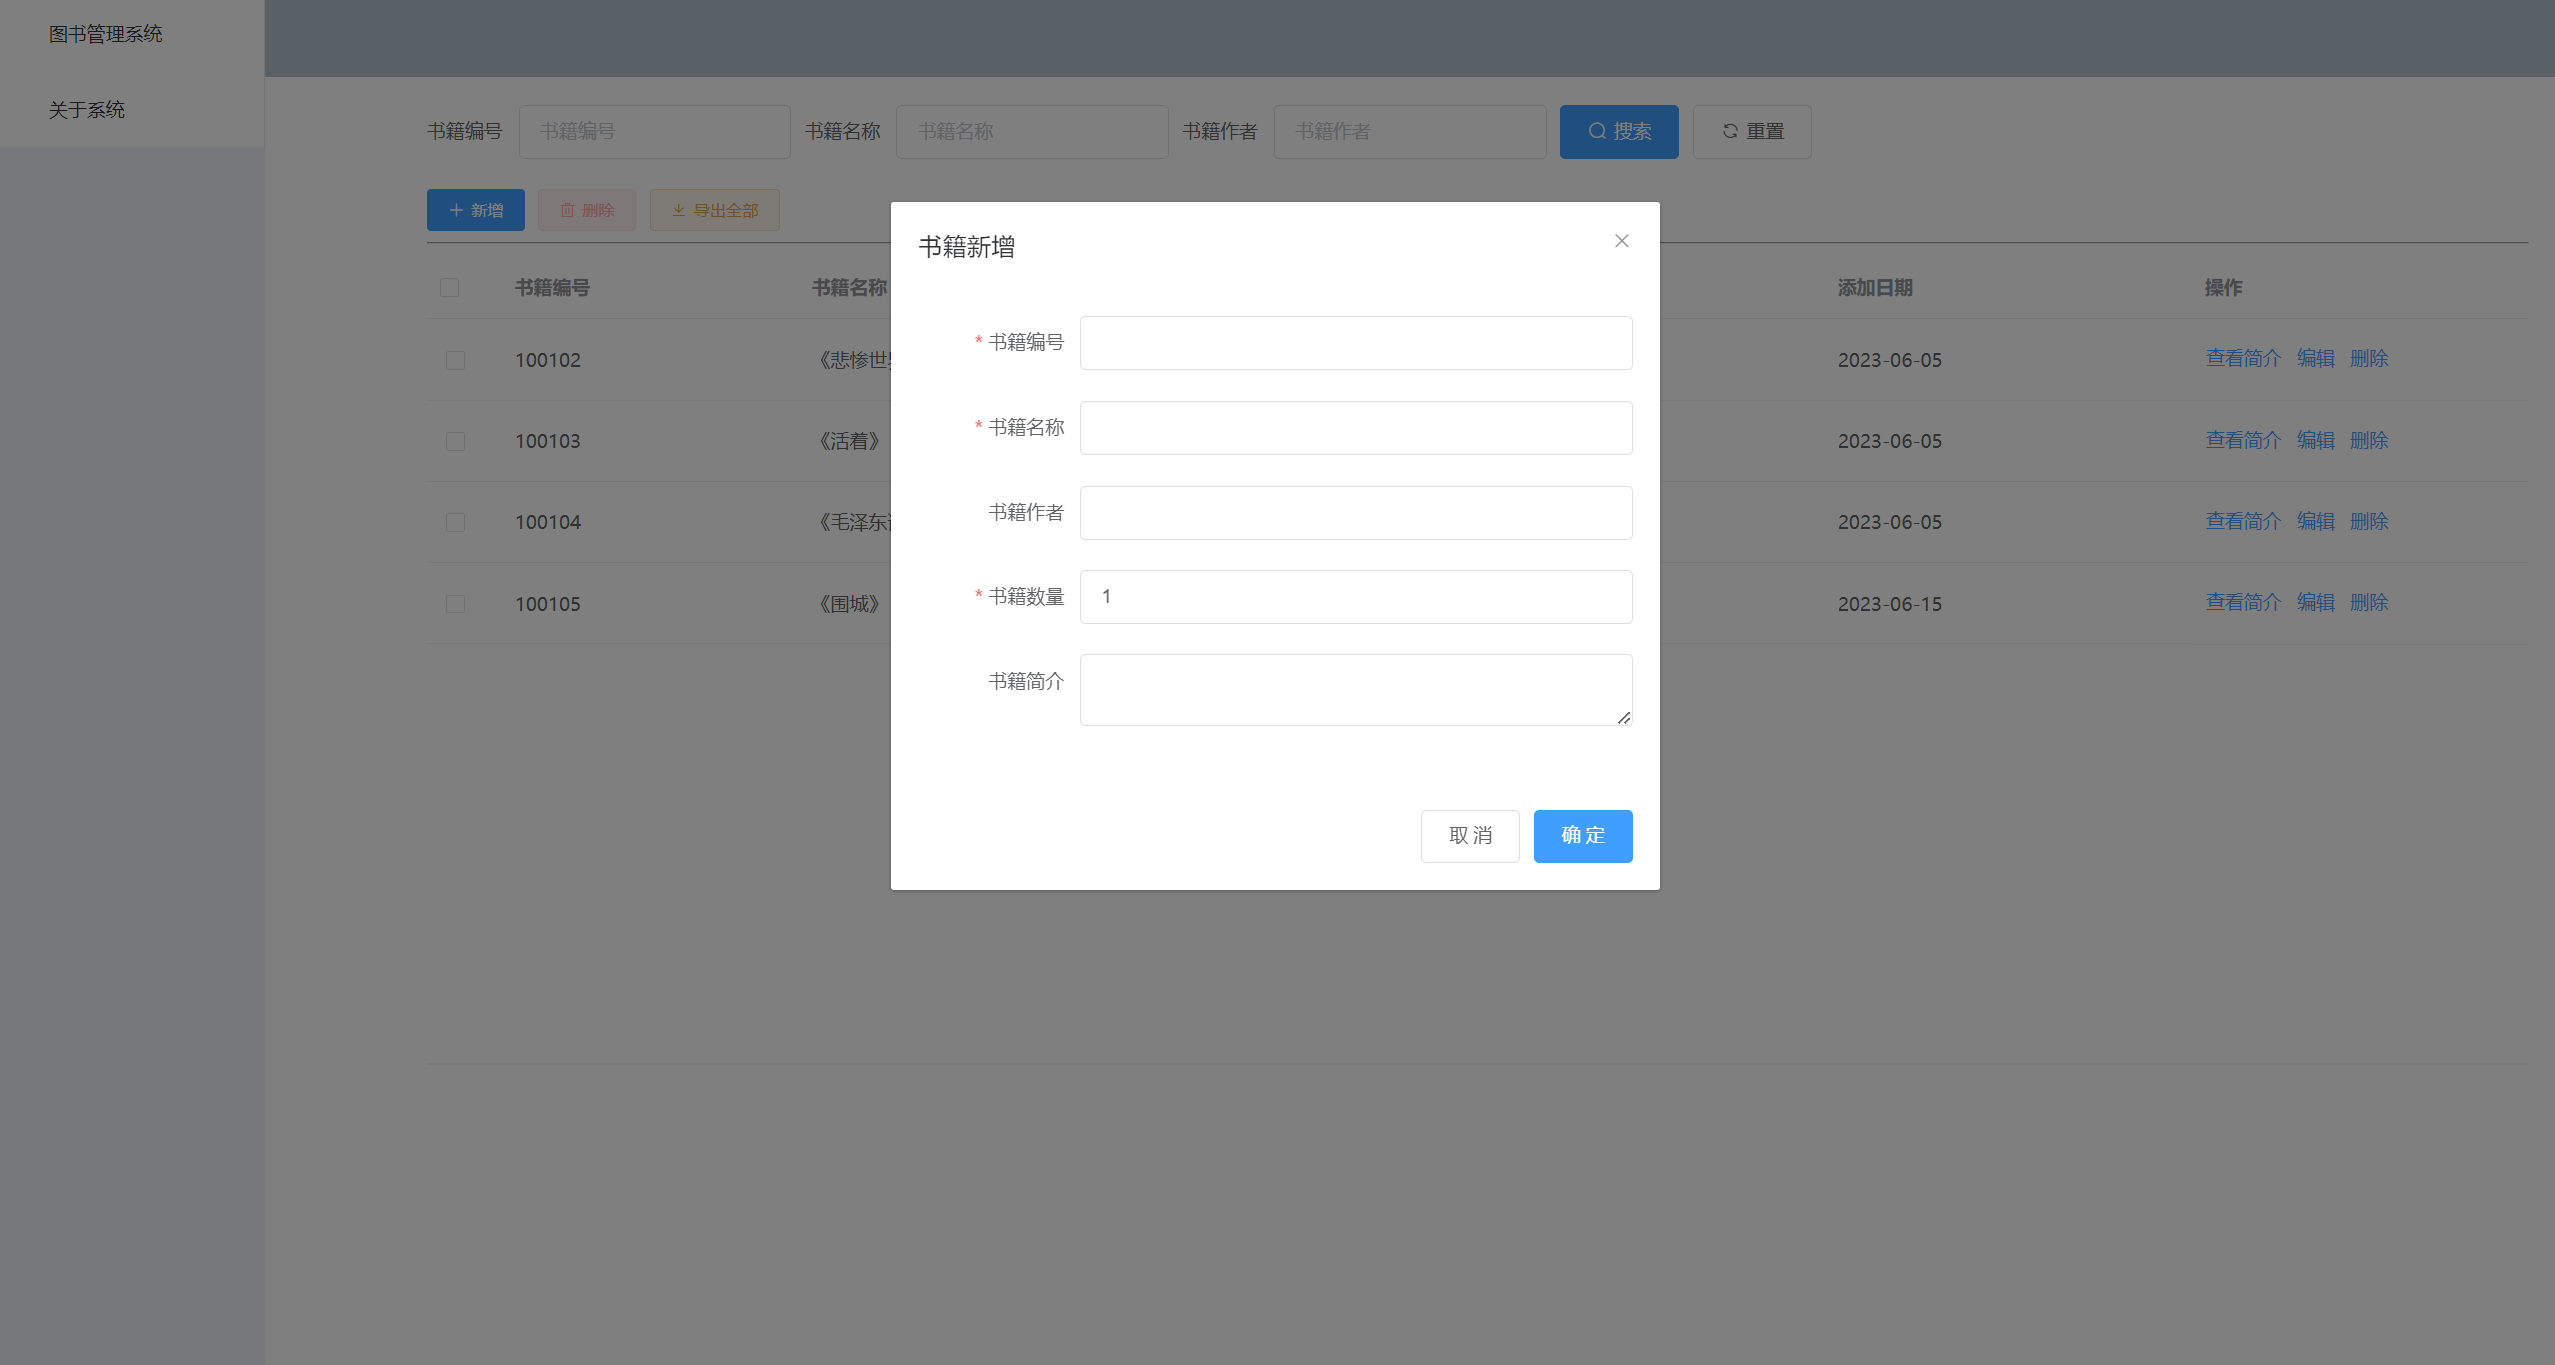
项目界面
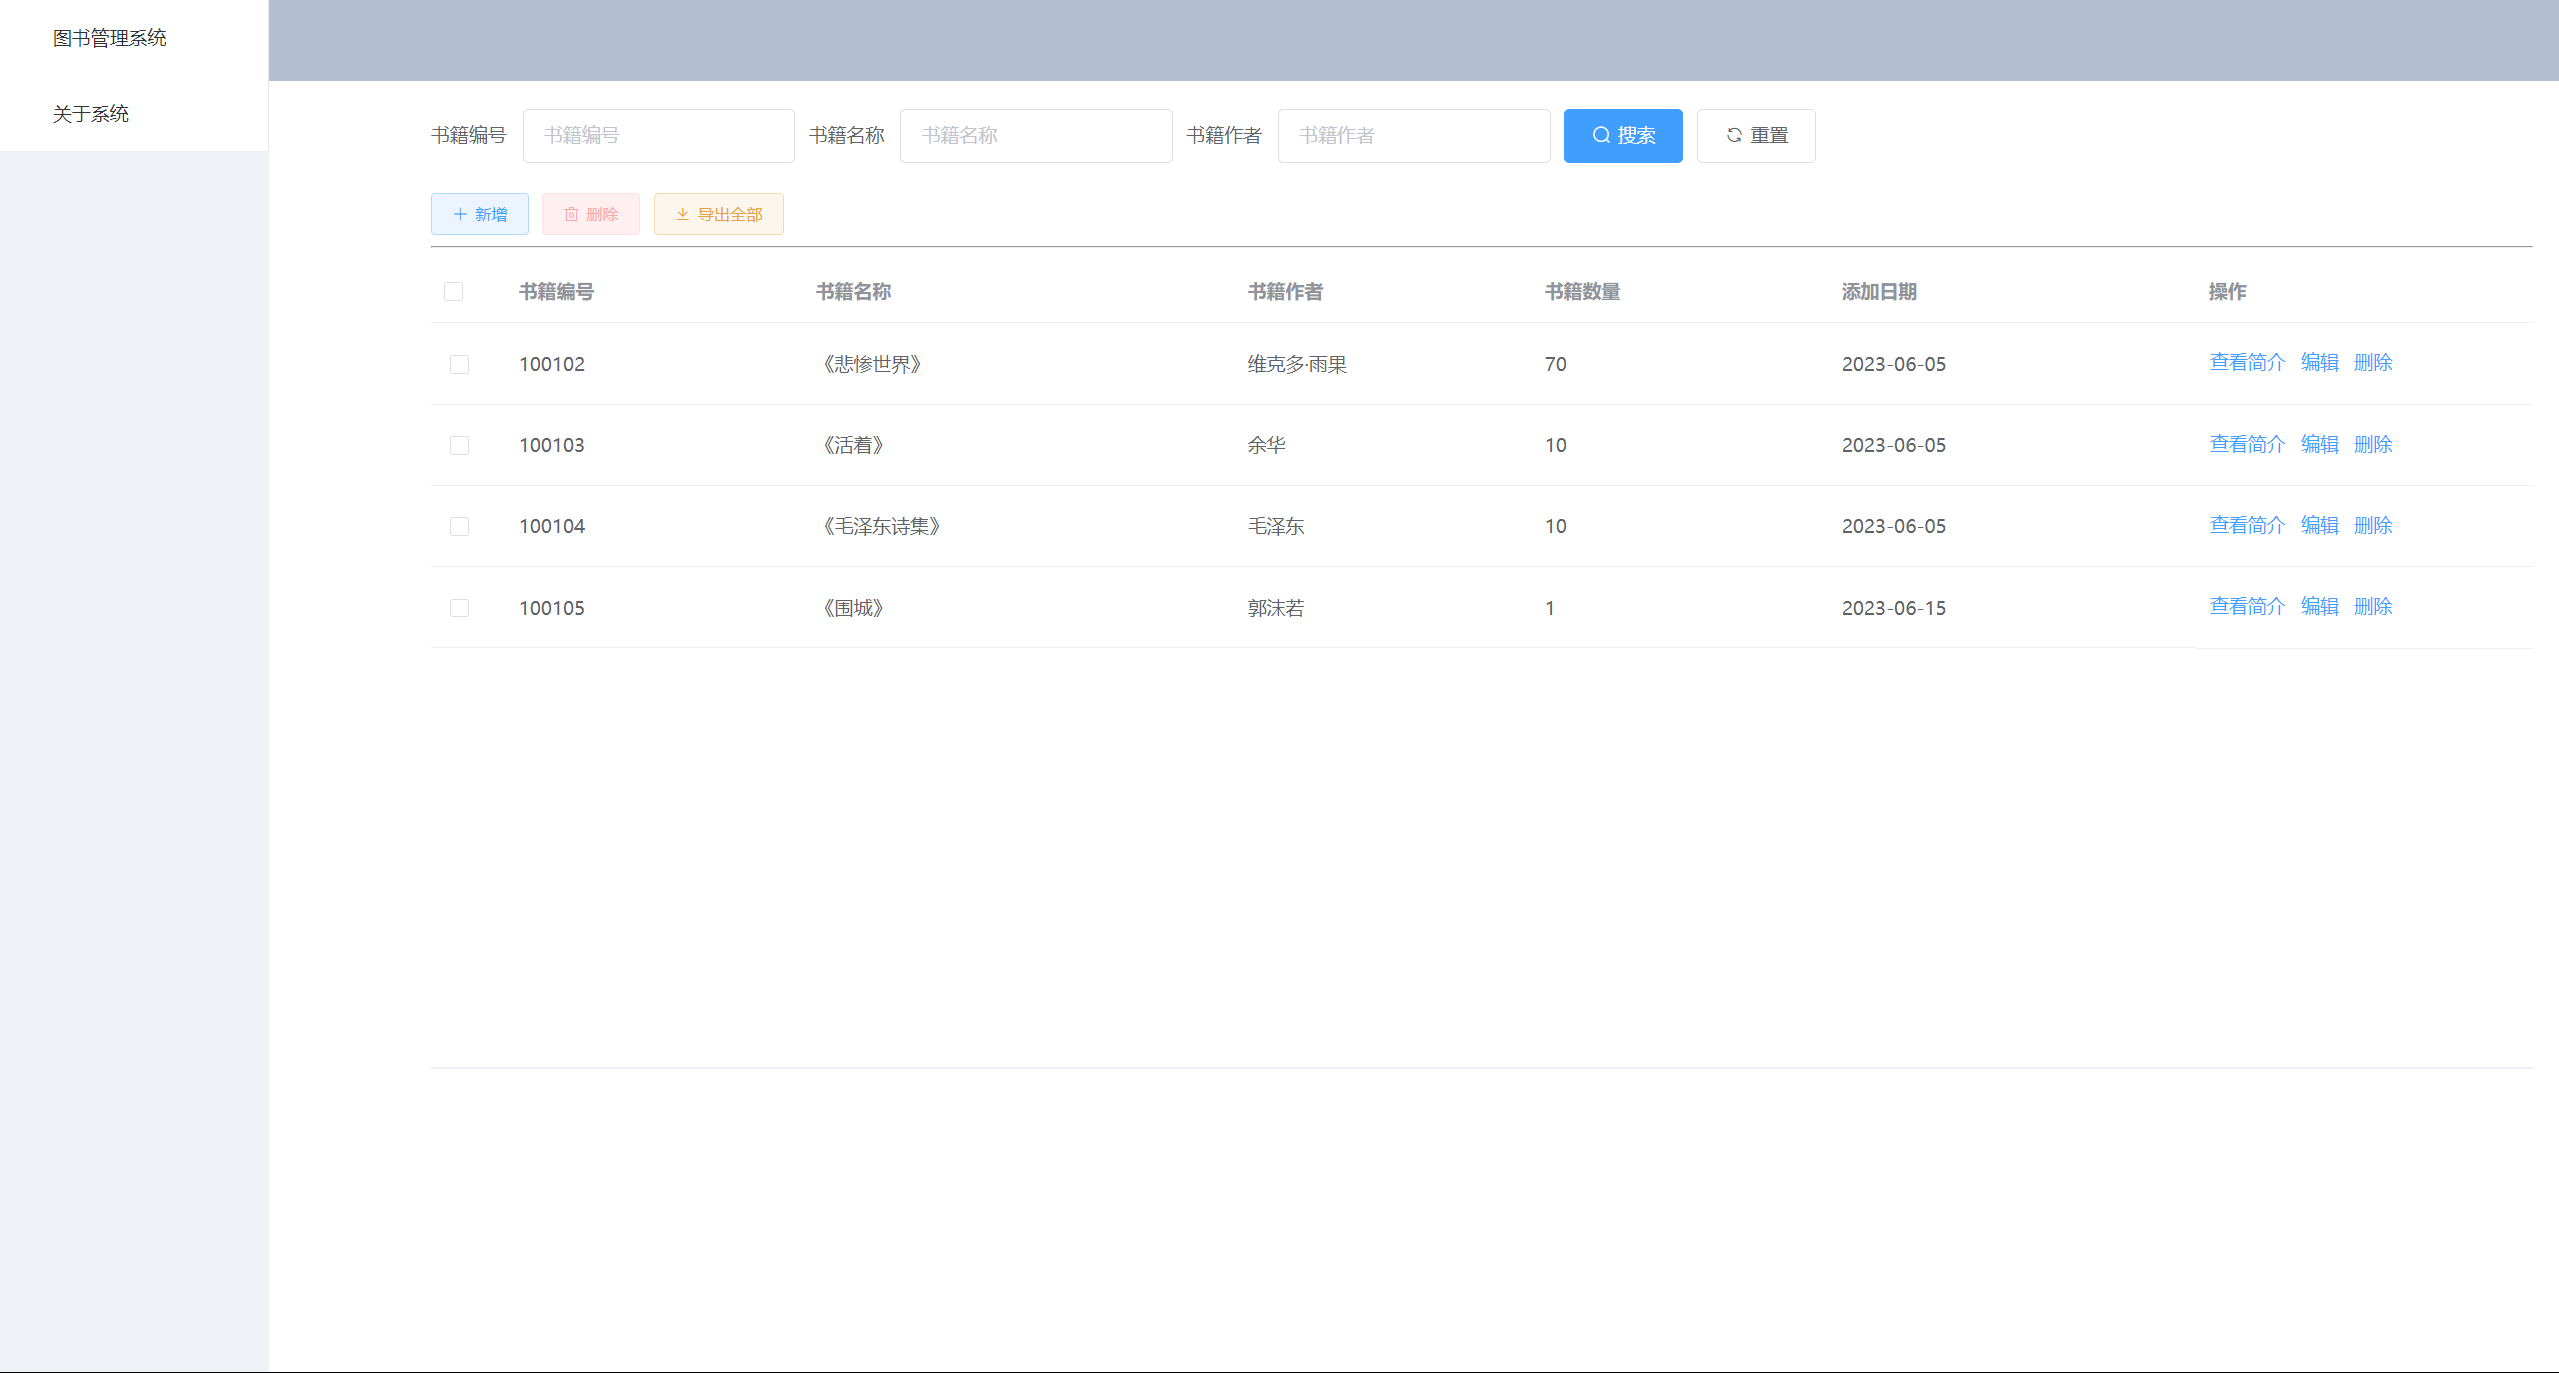
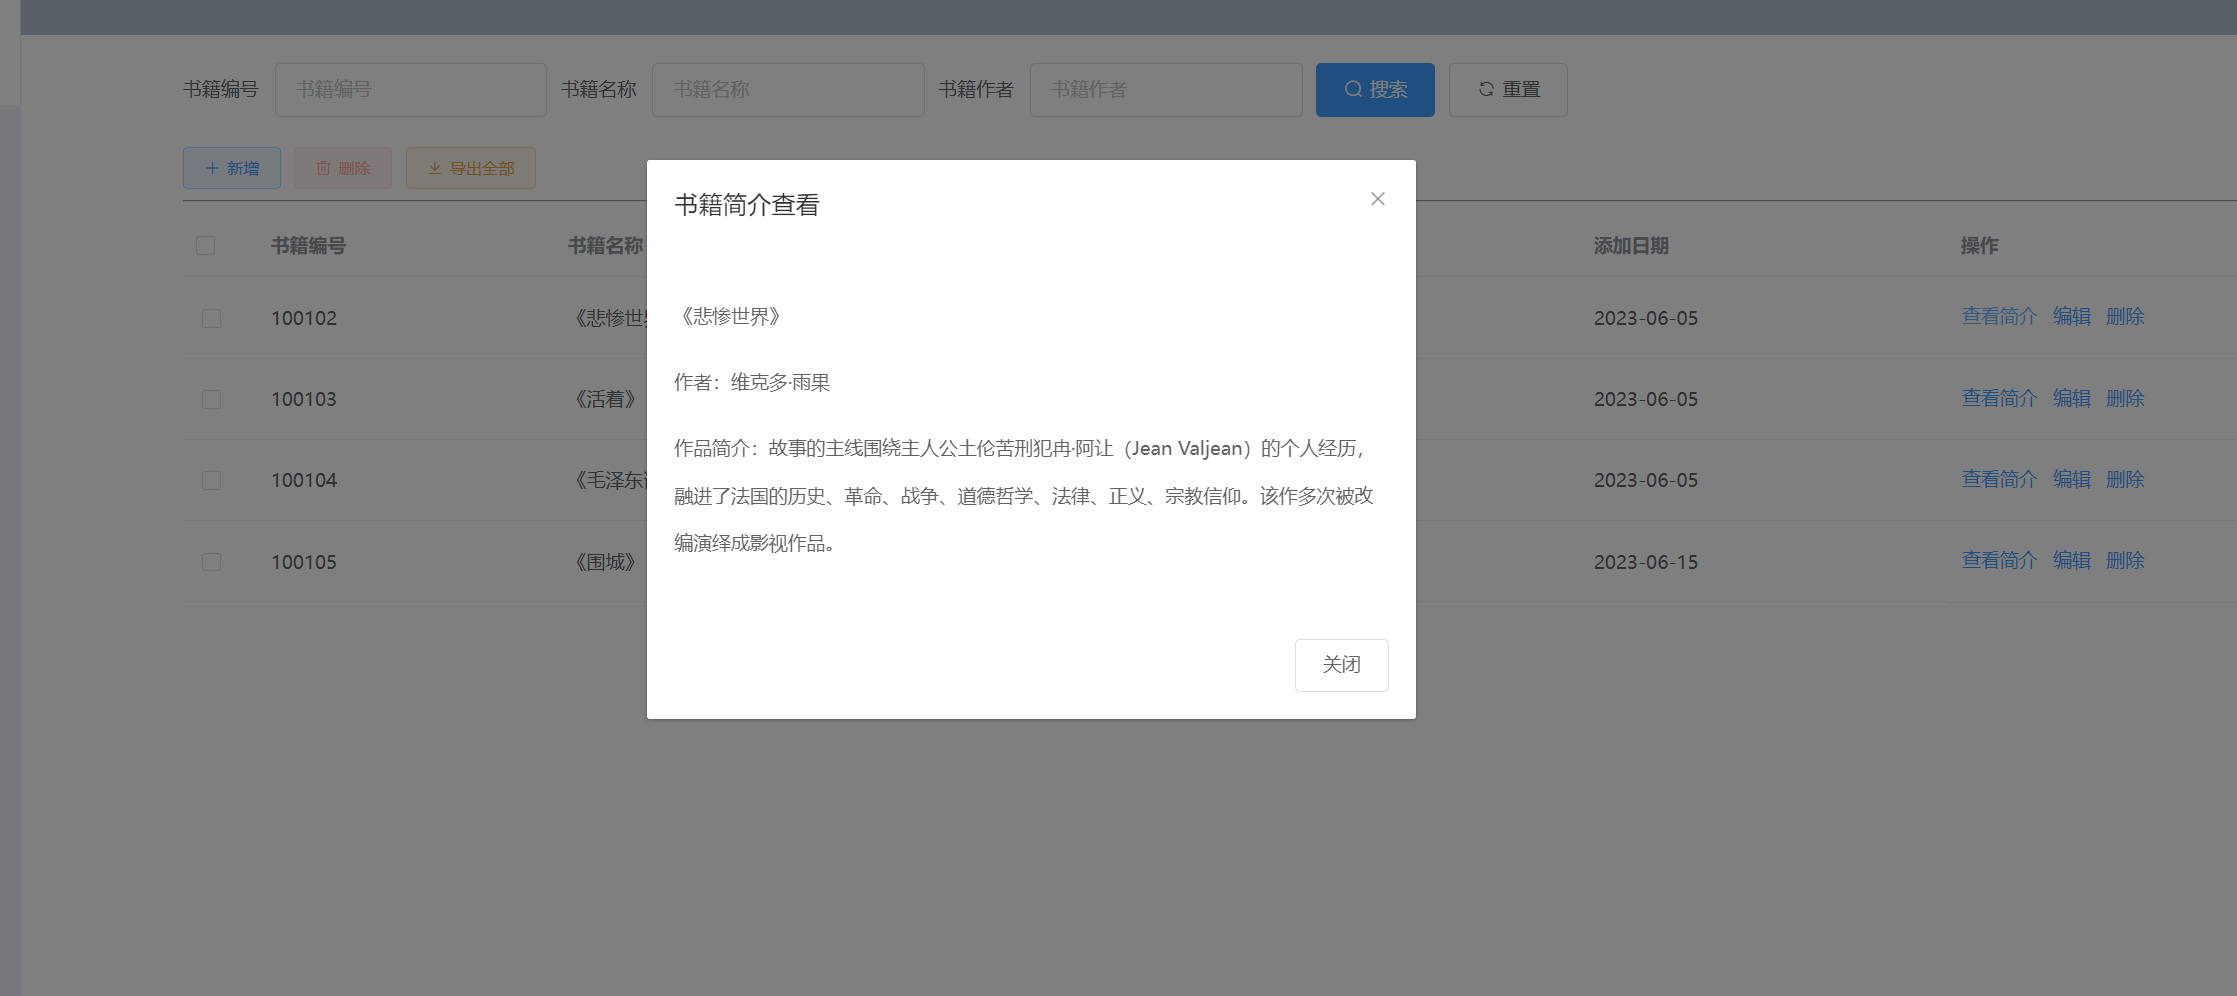
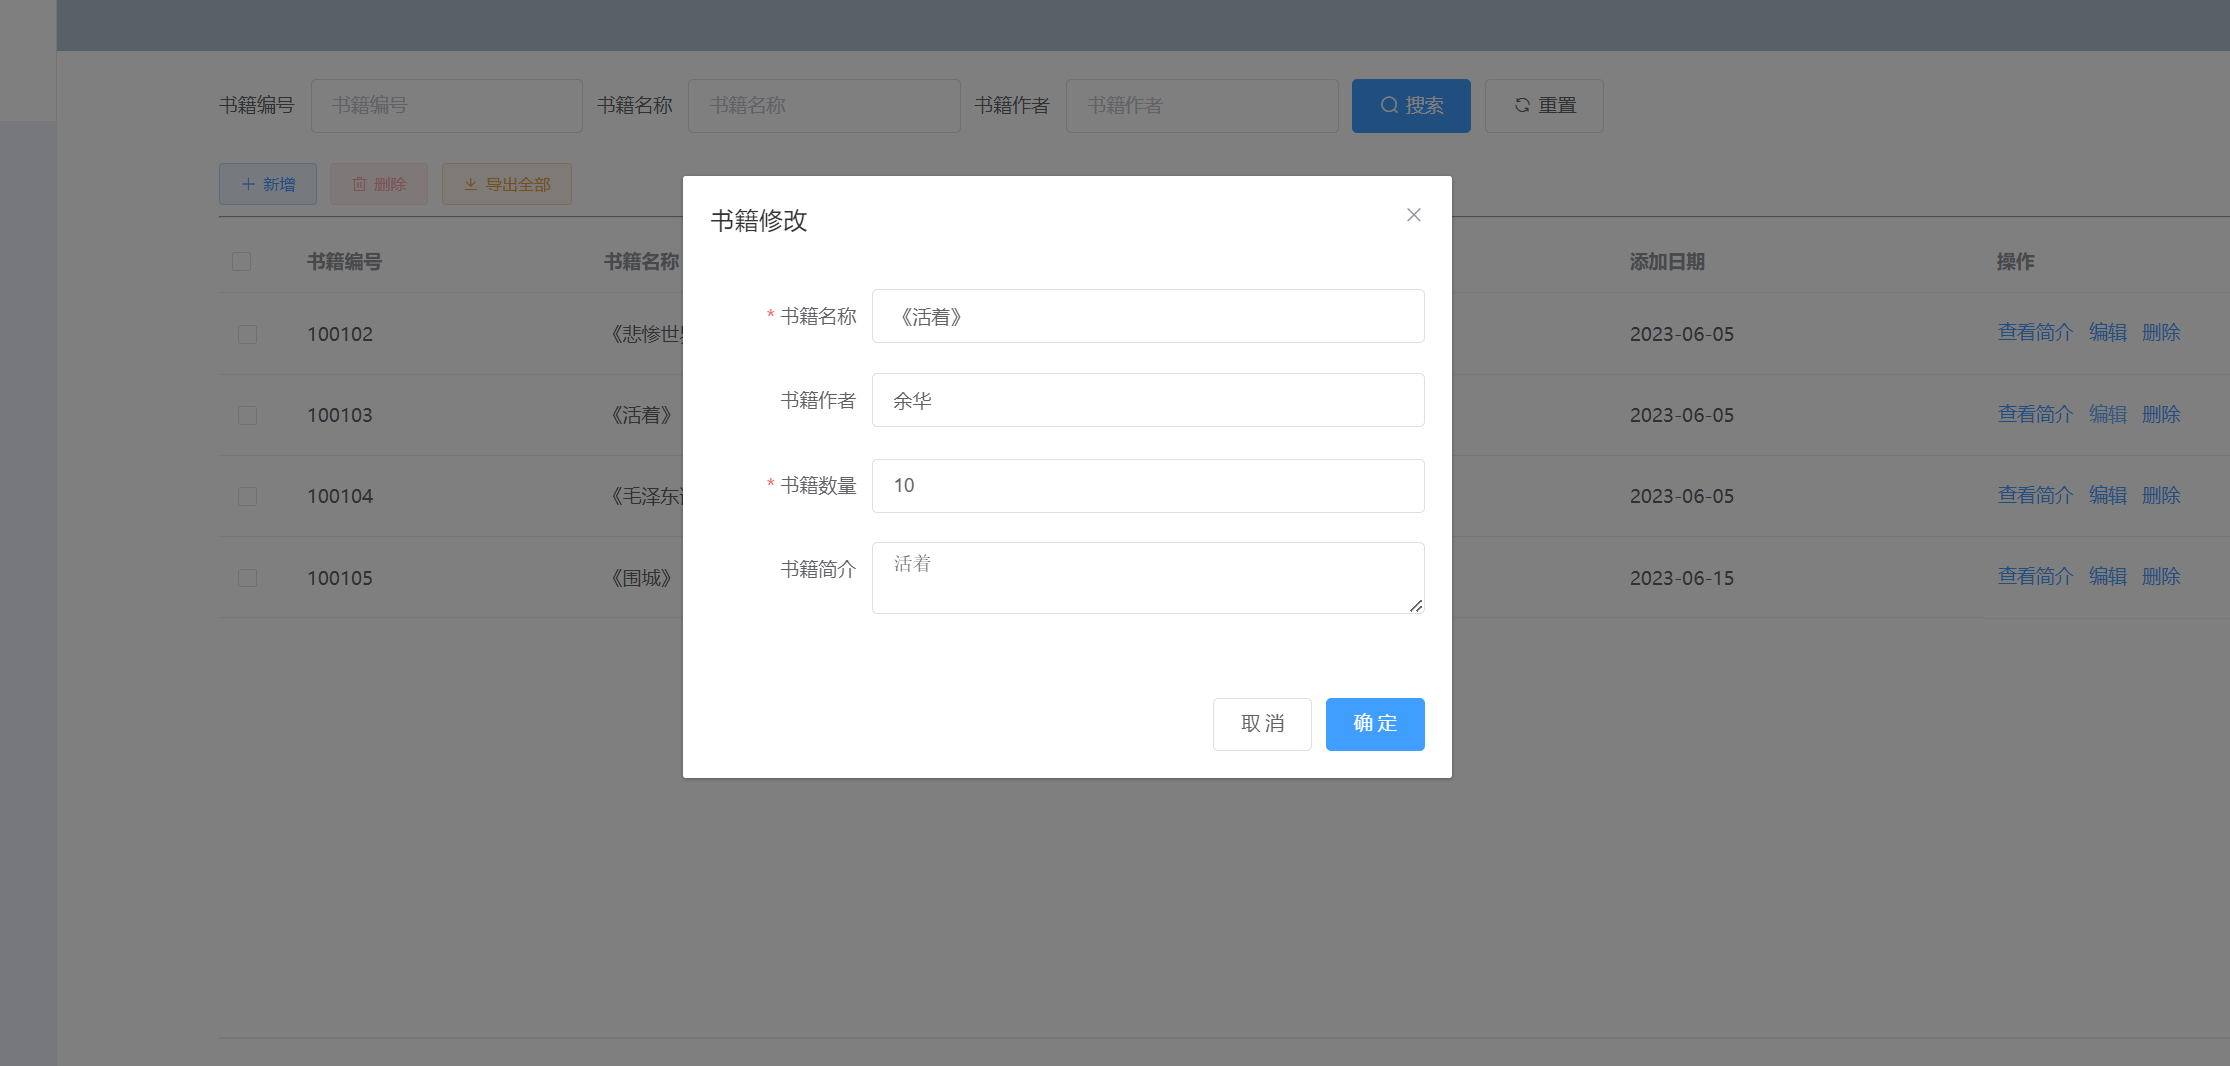
image-20230705010859253

image-20230705010920513

image-20230705010941068

image-20230705010957800